> ## Documentation Index
> Fetch the complete documentation index at: https://bilt.me/docs/llms.txt
> Use this file to discover all available pages before exploring further.
# Connect a Backend
> Add authentication, a database, file storage, and server logic to your app with Bilt Cloud
This guide walks you through connecting your Bilt app to **Bilt Cloud** — giving your app user sign-in, a PostgreSQL database, file storage, and server-side logic, all managed by Bilt.
## Prerequisites
* A Bilt project (create one in the [dashboard](https://bilt.me) or via [MCP](/docs/quickstart-mcp))
That's it — no external accounts or setup needed.
## Step 1: Open Database settings
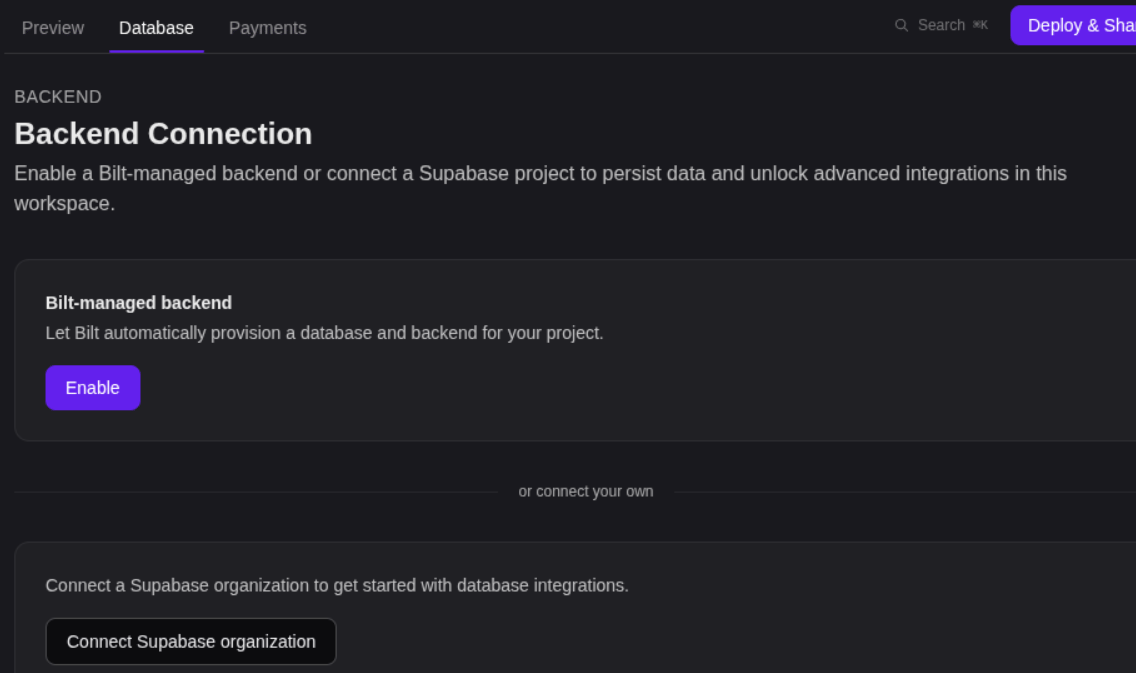
In your project, go to **Settings → Database**. You'll land on the **Backend Connection** screen.
You don't have to start from settings: when your app needs a backend, Bilt posts a card in chat with an **Enable Backend** button that does the same thing.
## Step 2: Enable the Bilt-managed backend
Under **Bilt-managed backend**, click **Enable**. Bilt provisions a database and backend for your project — setup takes up to a minute.
 Once connected, the page shows **Bilt Backend — Managed by Bilt**, and the **Data**, **Users**, **Automations**, **Files**, and **Advanced** tabs appear, with status chips for Database, Auth, Functions, and Storage.
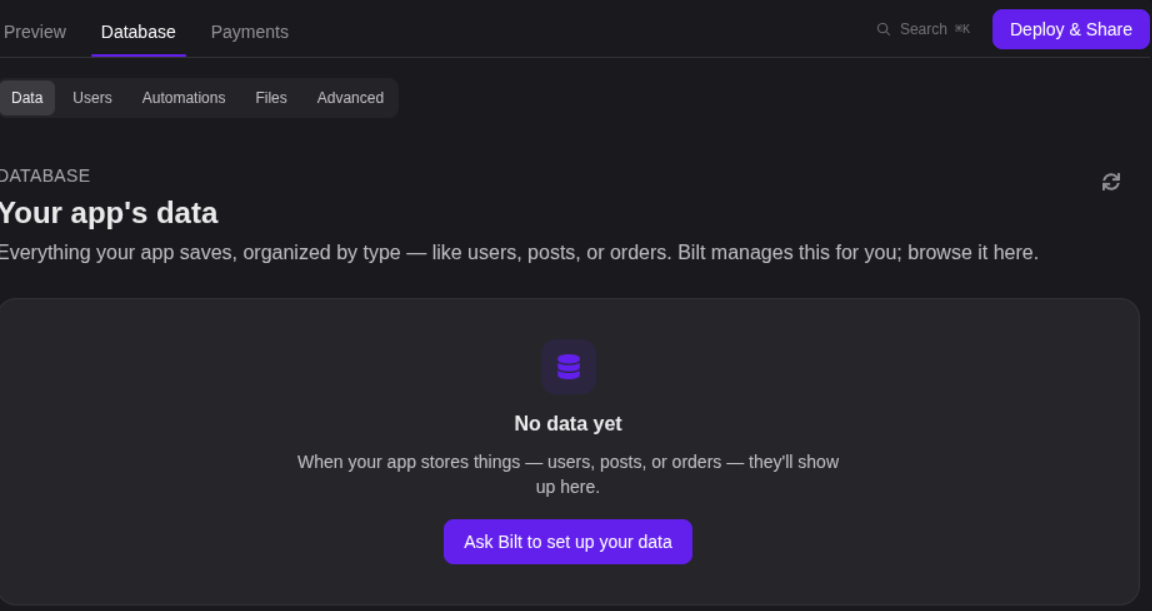 Your database is ready immediately. Sign-in and file storage switch on the first time your app needs them — or turn them on yourself with **Turn on sign-in** (Users tab) and **Turn on file storage** (Files tab).
## Step 3: Build features
Now tell Bilt what you want. Bilt generates the code that connects your app to its backend.
### Add authentication
```text theme={null}
Add sign up and log in screens. After login, redirect to the home screen.
```
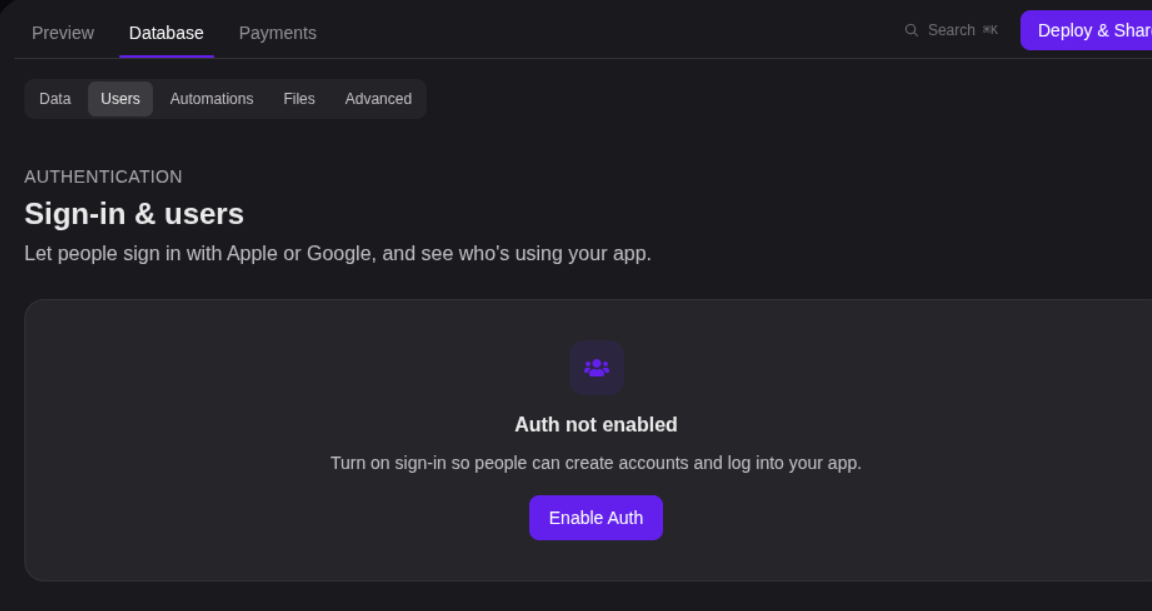
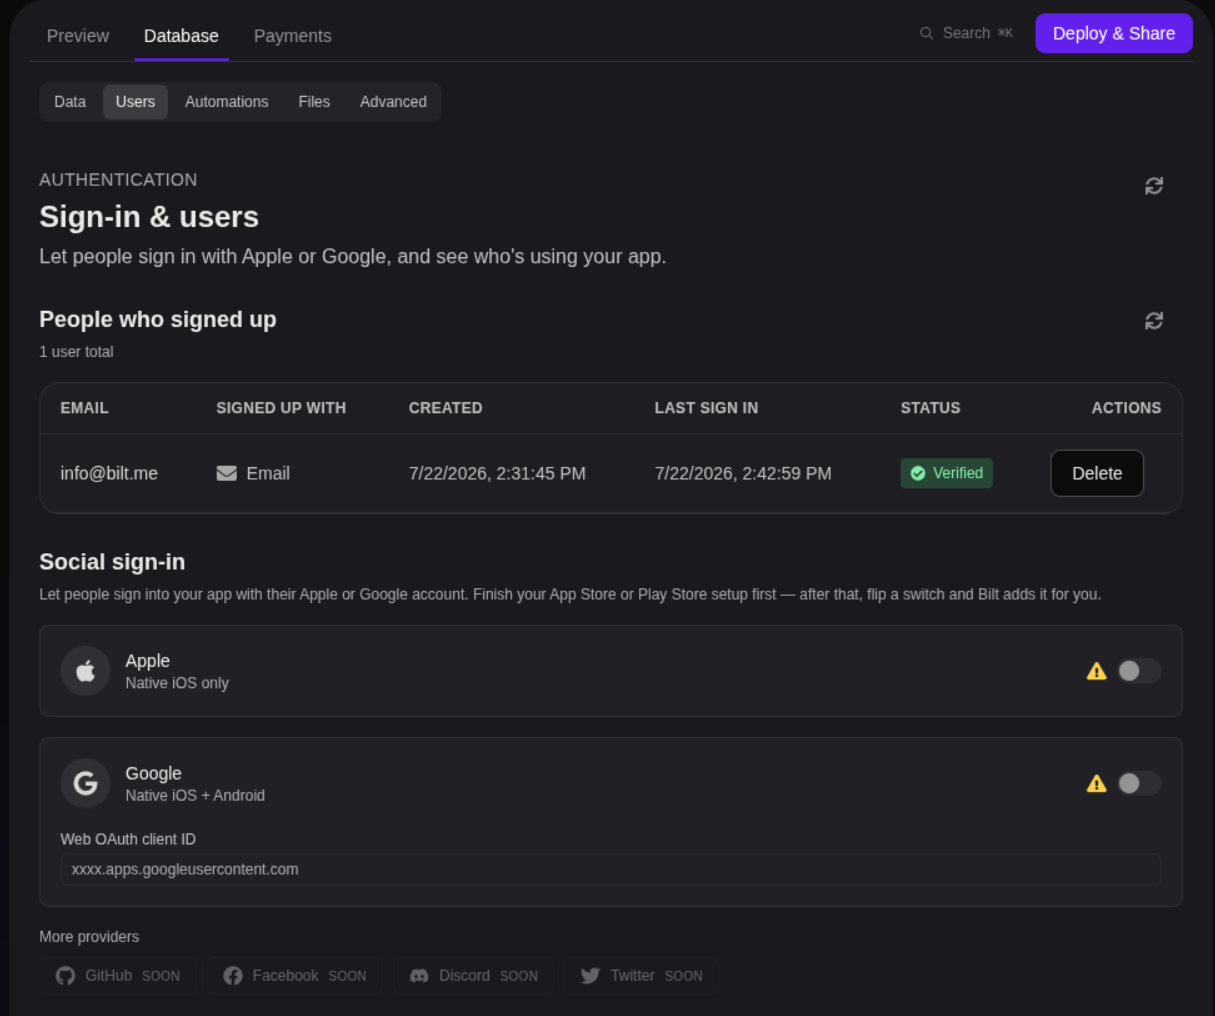
Users can sign in with email or with Apple and Google — manage providers on the **Users** tab.
Your database is ready immediately. Sign-in and file storage switch on the first time your app needs them — or turn them on yourself with **Turn on sign-in** (Users tab) and **Turn on file storage** (Files tab).
## Step 3: Build features
Now tell Bilt what you want. Bilt generates the code that connects your app to its backend.
### Add authentication
```text theme={null}
Add sign up and log in screens. After login, redirect to the home screen.
```
Users can sign in with email or with Apple and Google — manage providers on the **Users** tab.
 ### Create and use a database table
```text theme={null}
Create a "posts" table with title, content, and author fields.
Show all posts on the home screen in a card layout.
Add a form to create new posts.
```
### Store files
```text theme={null}
Let users upload a profile photo and show it on their profile page.
```
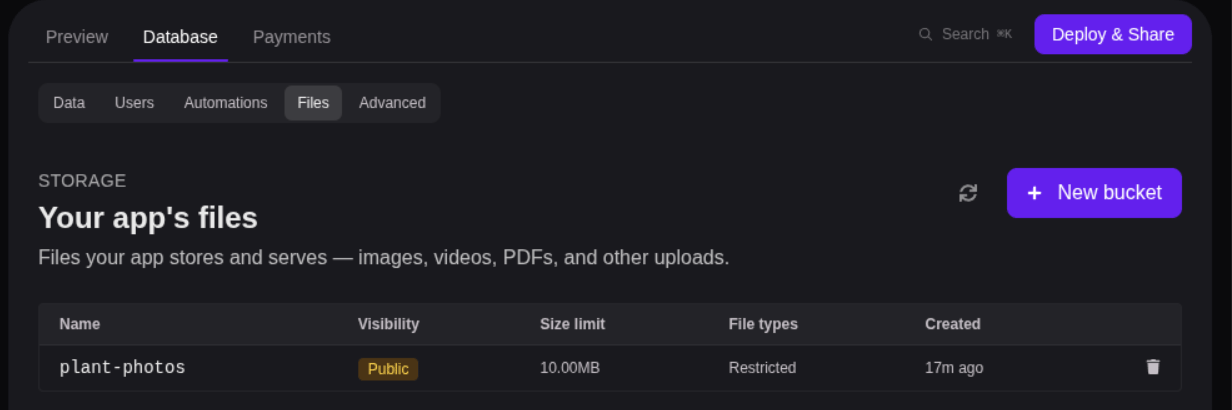
Uploaded files land in a storage bucket you can browse on the **Files** tab.
### Create and use a database table
```text theme={null}
Create a "posts" table with title, content, and author fields.
Show all posts on the home screen in a card layout.
Add a form to create new posts.
```
### Store files
```text theme={null}
Let users upload a profile photo and show it on their profile page.
```
Uploaded files land in a storage bucket you can browse on the **Files** tab.
 ### Add server logic
```text theme={null}
When a user submits an order, validate it on the server and
save it to the database.
```
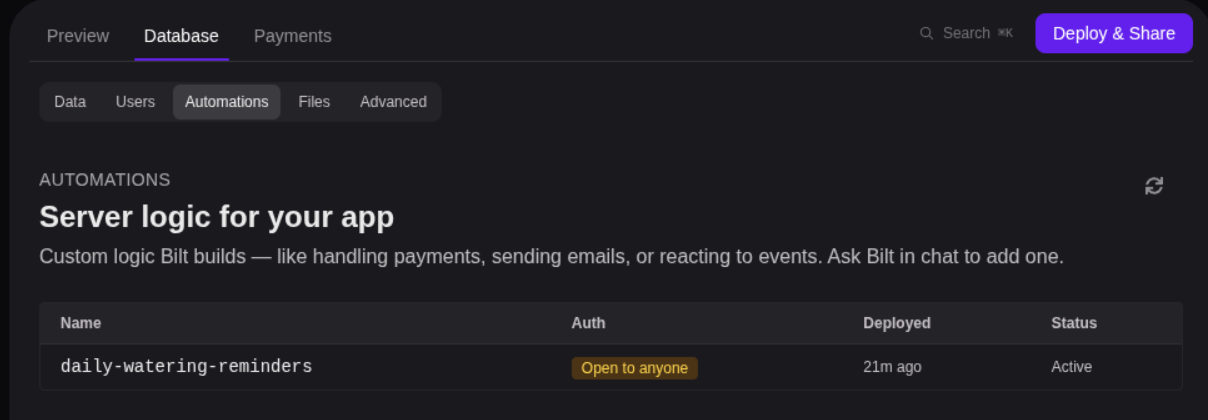
Server-side logic runs as an **automation** — see it, its deployments, and its invocation logs on the **Automations** tab.
### Add server logic
```text theme={null}
When a user submits an order, validate it on the server and
save it to the database.
```
Server-side logic runs as an **automation** — see it, its deployments, and its invocation logs on the **Automations** tab.
 ## Step 4: Verify data
Use the built-in inspector (under **Settings → Database**) to check that everything works:
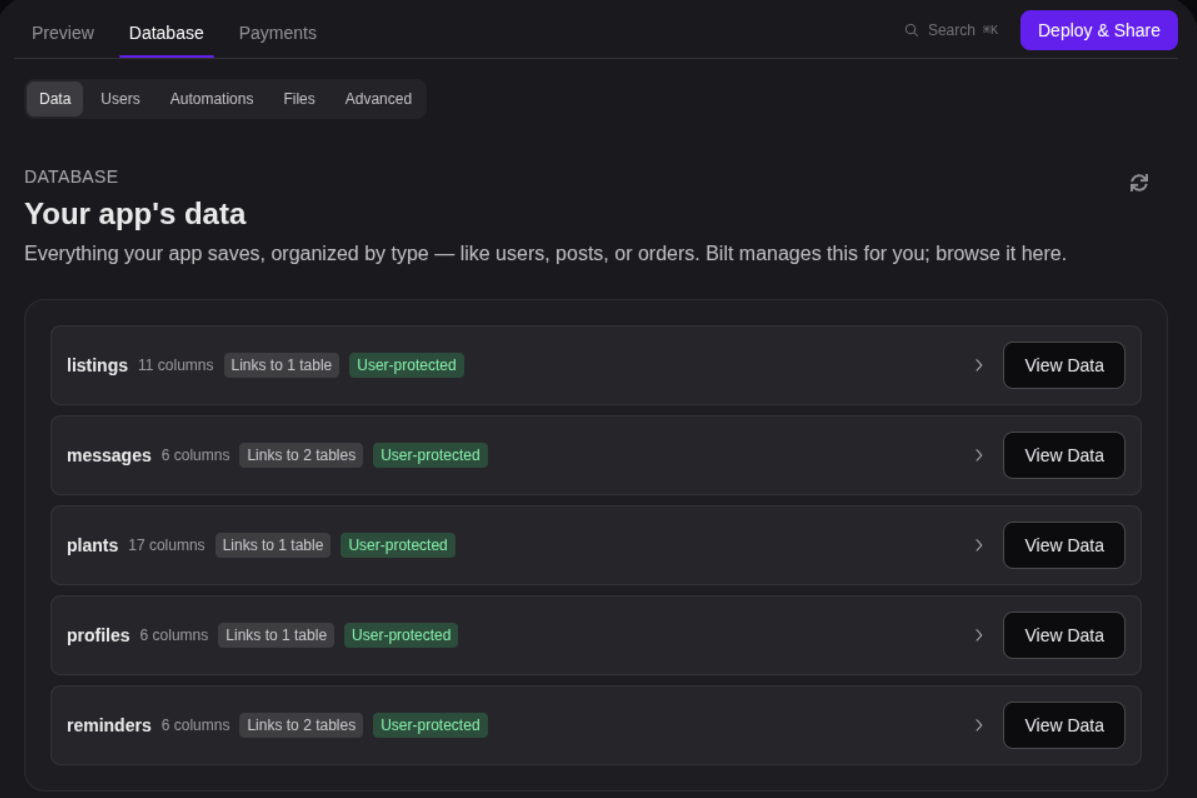
* **Data** — browse your tables and click **View Data** to see the rows in them
* **Users** — confirm accounts are created when users sign up
* **Advanced** — run raw SQL queries when you want to dig deeper
## Step 4: Verify data
Use the built-in inspector (under **Settings → Database**) to check that everything works:
* **Data** — browse your tables and click **View Data** to see the rows in them
* **Users** — confirm accounts are created when users sign up
* **Advanced** — run raw SQL queries when you want to dig deeper
 ## Connect your own Supabase instead
Prefer your own infrastructure? On the Backend Connection screen, click **Connect Supabase organization** and authorize Bilt with your Supabase account. Then create a new Supabase project or connect an existing one — Bilt builds against it the same way.
If your project uses the older Bilt-managed Supabase backend, you'll see a **Migrate to Bilt** button that moves your data, users, files, and functions to Bilt Cloud.
## Tips
* **Real-time sync isn't included** — if any user should instantly see another user's changes, ask Bilt to refresh data periodically or on navigation instead
* **Check the inspector** if something isn't working — confirm the table and data Bilt created actually exist
* **Keep secrets on the server** — ask Bilt to put API keys and sensitive logic in an automation, not in the app itself
## Further reading
* [Get & Share Your App](/docs/guides/get-and-share-your-app) — put your backed app in testers' hands
* [Publish to Web as PWA](/docs/guides/publish-to-web-as-pwa) — Bilt Cloud also hosts your app on the web
## Connect your own Supabase instead
Prefer your own infrastructure? On the Backend Connection screen, click **Connect Supabase organization** and authorize Bilt with your Supabase account. Then create a new Supabase project or connect an existing one — Bilt builds against it the same way.
If your project uses the older Bilt-managed Supabase backend, you'll see a **Migrate to Bilt** button that moves your data, users, files, and functions to Bilt Cloud.
## Tips
* **Real-time sync isn't included** — if any user should instantly see another user's changes, ask Bilt to refresh data periodically or on navigation instead
* **Check the inspector** if something isn't working — confirm the table and data Bilt created actually exist
* **Keep secrets on the server** — ask Bilt to put API keys and sensitive logic in an automation, not in the app itself
## Further reading
* [Get & Share Your App](/docs/guides/get-and-share-your-app) — put your backed app in testers' hands
* [Publish to Web as PWA](/docs/guides/publish-to-web-as-pwa) — Bilt Cloud also hosts your app on the web