You are probably here for one of three things: quick payouts from apps you already use, recurring income from an app you own, or project revenue from building apps for clients.
All three can work. They differ in speed, ownership, risk, and how much work can keep paying after the initial effort.
Most guides pick one side. You get a list of survey apps with little payout context, or a monetization strategy that never explains how an app gets built, tested, and published.
This guide separates the routes. Steps 2 to 4 cover third-party earning apps, steps 5 to 14 cover an app you own, and the client route has its own pricing and delivery guidance.
Two ways apps generate income
There are two ownership categories, but three practical earning routes: use someone else's app, monetize an app you own, or build an app for a client.
Earning inside an app you don't own
The app belongs to someone else and you earn inside it: completing tasks, answering surveys, selling a service, posting content, or collecting cashback.
Money can arrive quickly, usually in small amounts, and the platform sets the rules. Task income stops when you stop, while content, listings, or services may keep attracting buyers.
Earning from an app you own
Here you set the price. Paid apps charge upfront for the download, and free apps make their money after install through ads, in-app purchases, and subscriptions.
Client app work sits alongside ownership. A business pays you to build, brand, and ship its app rather than waiting for end-user purchases.
- Need small payouts soon: use third-party apps, but track your real hourly return.
- Want a scalable asset: build an owned app, knowing audience growth takes time.
- Want project revenue first: build for clients, with a clear scope and support agreement.
1. Choose your earning route
Choose your route before comparing apps or designing features: third-party apps for near-term payouts, an owned app for scalable revenue, or client work for project-based income.
Choose by what you want to sell, how soon you need income, and whether you want to own the resulting asset.
- Third-party earning apps: your time and activity on someone else's platform, at a rate they set. Near-term money, hard ceiling.
- An owned app: access to your own product, priced by you. Slower to start, and it keeps paying after the work is done.
- Client app work: the build itself. Project-based revenue that lands before a single end user pays anything.
Client work wins when you want revenue before you have an audience.
The model is straightforward. You build apps for businesses and charge for the build, so the money is not waiting on downloads, ratings, or a paywall converting.
AI-assisted building can make client work viable for one person by shortening the path to a testable app. Price each project for its real integrations, revisions, store work, and ongoing support.
2. Compare apps that pay
Compare earning apps on six signals: payout type, cash-out minimum, time to reward, required spend, review patterns, and the permissions or account access they ask for.
Each signal tells you something the app store rating does not:
- Payout type: cash to PayPal or a bank account is worth more than gift-card-only credit.
- Cash-out minimum: the balance you must reach before any money actually moves.
- Time to reward: same task, after verification, or on a fixed quarterly schedule.
- Required spend: whether earning depends on buying something first.
- Review patterns: the complaint that repeats across many users, not the loudest single review.
- Permissions: what data or account access the app wants in exchange for rewards.
Apply the same criteria to every candidate. Check each app's own payout terms, availability, reward format, required spending, and recent withdrawal complaints before installing it.
- Rakuten: Compare cashback eligibility, excluded purchases, payout method, payout schedule, and the current withdrawal minimum in its official terms.
- Ibotta: Check whether an offer requires a specific retailer, product, receipt, or linked account, then confirm the current withdrawal rules.
- Swagbucks: Compare task types, point value, redemption options, disqualification risk, and the time needed to reach a usable reward.
- Surveys On The Go: Check screening rules, survey length, payment timing, geographic availability, and the current cash-out minimum.
Before installing anything, set two limits: the minimum payout you will accept and the maximum time or required spend you will trade for it.
Any app that fails either number comes off the shortlist, however good its rating looks.
3. Vet each earning app
Vetting answers three questions: Is the effective payout worth your time? Do recent complaints reveal a pattern? Does the app request more access than its function requires?
A shortlist tells you which apps look promising. Vetting tells you which ones to drop before you spend a month on them.
Work in order of risk: money first, then trust, then data. Start with payout math because a poor return can rule out an app before you read reviews or check permissions.
1. Do the effective payout math
- Time the full task, including screening questions, disqualifications, and receipt uploads.
- Subtract required spend. A $2 rebate on something you would not have bought is not $2 earned.
- Divide by the hours it took, then compare that hourly number to anything else you could do with the time.
- Check the cash-out minimum against your real pace. A $20 floor at $3 a month ties up your balance for nearly seven months.
2. Read recent reviews for the same repeated complaint
- Reward devaluation and point-system changes, where the effort to earn quietly rises.
- Billing problems such as double charges, especially where support replies are slow or unclear.
- Complaints that are recent and still unresolved, rather than old ones the company answered.
- One bad review is noise. The same complaint from many users in the same month is a pattern.
3. Set your permission limits before you install
- Do not type bank credentials directly into an unfamiliar app. Prefer a verified bank redirect, and review exactly what account access it requests.
- Ask whether the app needs a linked account at all, or whether a receipt photo does the same job.
- Grant the narrowest access that still works. Every unnecessary linked account or permission increases your exposure if the integration is misconfigured or compromised.
4. Calculate your net earnings
Net earnings depend on the route. Start with cash received, then subtract every cost required to earn, deliver, or maintain it.
Use the matching cost base before running the monthly calculation:
- Third-party apps: subtract required purchases, travel, equipment, fees, and time.
- Owned apps: subtract store and payment fees, hosting, acquisition, support, and time.
- Client apps: subtract tools, revisions, delivery, support, and your working hours.
Then apply the same four-step calculation each month.
- Total your income by source: ads, subscriptions, in-app purchases, affiliate payouts, and cashback rewards over one full month, before anything is deducted.
- Subtract platform fees: use the current terms for your store, payment provider, program eligibility, region, and product type. Do not assume one commission rate applies to every sale.
- Subtract operating costs: hosting, build tools, required purchases, equipment, fuel, plus usage-based platform fees that scale with API calls or database use.
- Subtract the value of your unpaid hours: support, updates, admin, and promotion, multiplied by the hourly rate you would charge someone else.
Here is how gross revenue can shrink, using round figures and a deliberately high 30% platform commission purely for illustration:
- Gross income for the month: $1,000
- Illustrative platform commission at 30%: -$300
- Hosting, tools, and equipment: -$150
- 20 hours of support, updates, and promotion at $25/hour: -$500
- Net earnings: $50
On the dashboard, that app cleared $700. Once your own time has a price on it, it cleared $50.
Unpaid building and support time is what makes an app look profitable when it isn't. Nobody invoices you for the 11pm bug fix, so it never lands in the expense column.
5. Validate a paying audience
A paying audience is validated when reachable people confirm the problem and make a real commitment, such as a deposit, preorder, signed pilot, or scheduled onboarding.
Start with names, not market size. List the specific people you can contact right now who already have the problem your app solves, ask them about it, and only then build.
If that list is empty, the idea is still a guess.
Three questions worth answering before anything gets built:
- Who can you message this week without needing an introduction?
- What do they already complain about, in their own words?
- Did anyone make a concrete commitment before the full app existed?
Customer validation can include interviews, market research, a landing page, a preorder, or a one-feature MVP. The goal is evidence from real buyers, not a polished persona document.
An LLM can pressure-test a plain-English idea, expose assumptions, and suggest missing cases. It cannot prove that people will pay, so use it before, not instead of, customer validation.
6. Choose your monetization models
Choose one primary monetization model that matches your app’s core value, then add one secondary model only if it fits actual user behavior and usage patterns.
Subscriptions fit apps that deliver value again every week: tracking, coaching, content libraries, workflow tools. If your app gets opened once a quarter, subscribers will churn faster than you can replace them.
Advertising needs frequent sessions and enough impressions to matter. A low-frequency utility may earn little from ads even when the placements are well designed.
Add a secondary layer only when it complements the main value exchange, and only when user behavior points to it:
- Ads on the free tier, with the paid tier removing them
- Affiliate links inside flows where users already want recommendations
- Transaction fees where users are already buying from each other
Match the model to the value pattern:
- Subscription: recurring value such as tracking, coaching, content, or workflow access.
- In-app purchase: a feature, content pack, or upgrade unlock.
- Advertising: frequent use by a broad free audience.
- Affiliate or referral: recommendations that already belong in the user flow.
- Transaction fee: purchases between users.
- Paid download: clear value before installation.
Paid downloads are a niche model, not a default. They work when the value is obvious before install: a specialized tool, a premium utility, a one-time-use professional app.
If that describes yours, run this playbook:
- Validate demand before you build anything payable.
- Keep the promise narrow so the price is easy to justify.
- Show the full outcome on the store page, not a teaser.
- Do not hide the core value behind later upsells.
Bilt's documented scope here covers subscriptions and native in-app purchases. Advertising, affiliate tracking, e-commerce, and transaction-fee flows depend on the app and should be confirmed before you design around them.
Confirm the technical requirements with Bilt before committing to a monetization flow outside native subscriptions or in-app purchases.
7. Model revenue and break-even
A useful revenue model connects downloads, activation, payer behavior, recurring revenue, acquisition cost, churn, and operating costs. Break-even arrives when cumulative contribution margin covers the launch cost.
Your model needs five inputs before it means anything:
- Downloads you can realistically expect in month one
- Activation rate: how many of those downloads actually use the app
- Payer conversion: how many activated users pay
- ARPPU and MRR: ARPPU is recurring revenue divided by paying users. MRR is total recurring monthly revenue from active subscriptions.
- CAC and churn: CAC is acquisition spend divided by new paying customers. Churn is the share of subscribers lost during the period.
If your app charges upfront, keep paid downloads as their own revenue line instead of folding them into subscription or in-app purchase totals.
Model net revenue, not gross. Under Apple's standard auto-renewable subscription terms, proceeds are generally 70% in a subscriber's first paid year and 85% afterward, minus applicable taxes. Small Business Program participants generally receive 85% from the start. Check current Apple subscription terms and the rules for each store, region, and product type.
The formulas below cover the four common revenue lines. Fill in the assumptions in the third column and the rest is arithmetic.
| Revenue model | Simple formula | Key assumptions to enter |
|---|---|---|
| Paid downloads | Downloads × paid conversion × app price | Store price, conversion to purchase, refunds |
| Subscriptions | Active users × subscription conversion × monthly price | Monthly active users, trial-to-paid rate, churn |
| In-app purchases | Active users × buyer rate × average purchase value | Buyer rate, purchase frequency, average order value |
| Ads | Monthly active users × impressions per user × eCPM ÷ 1,000 | Session volume, ad impressions, eCPM benchmark |
Build conservative and aggressive scenarios, not forecasts. Start with category and channel benchmarks, then replace every assumption with your own results as soon as you have them.
Break-even is the first month cumulative cash flow turns positive. Contribution margin shows what each sale adds after variable costs; it does not include the fixed launch cost already spent.
Protect your cash runway by checking that you can fund the conservative scenario. If you cannot, narrow the first release or find a lower-cost acquisition path.
A feature-heavy first build delays launch and adds testing and support work before revenue begins. Model the narrowest version that can deliver the paid outcome.
8. Build or recover the app
Your starting point determines the build: create a first app from an idea, repair an unfinished project, or adapt an existing web product for native mobile.
Branch 1: a new idea
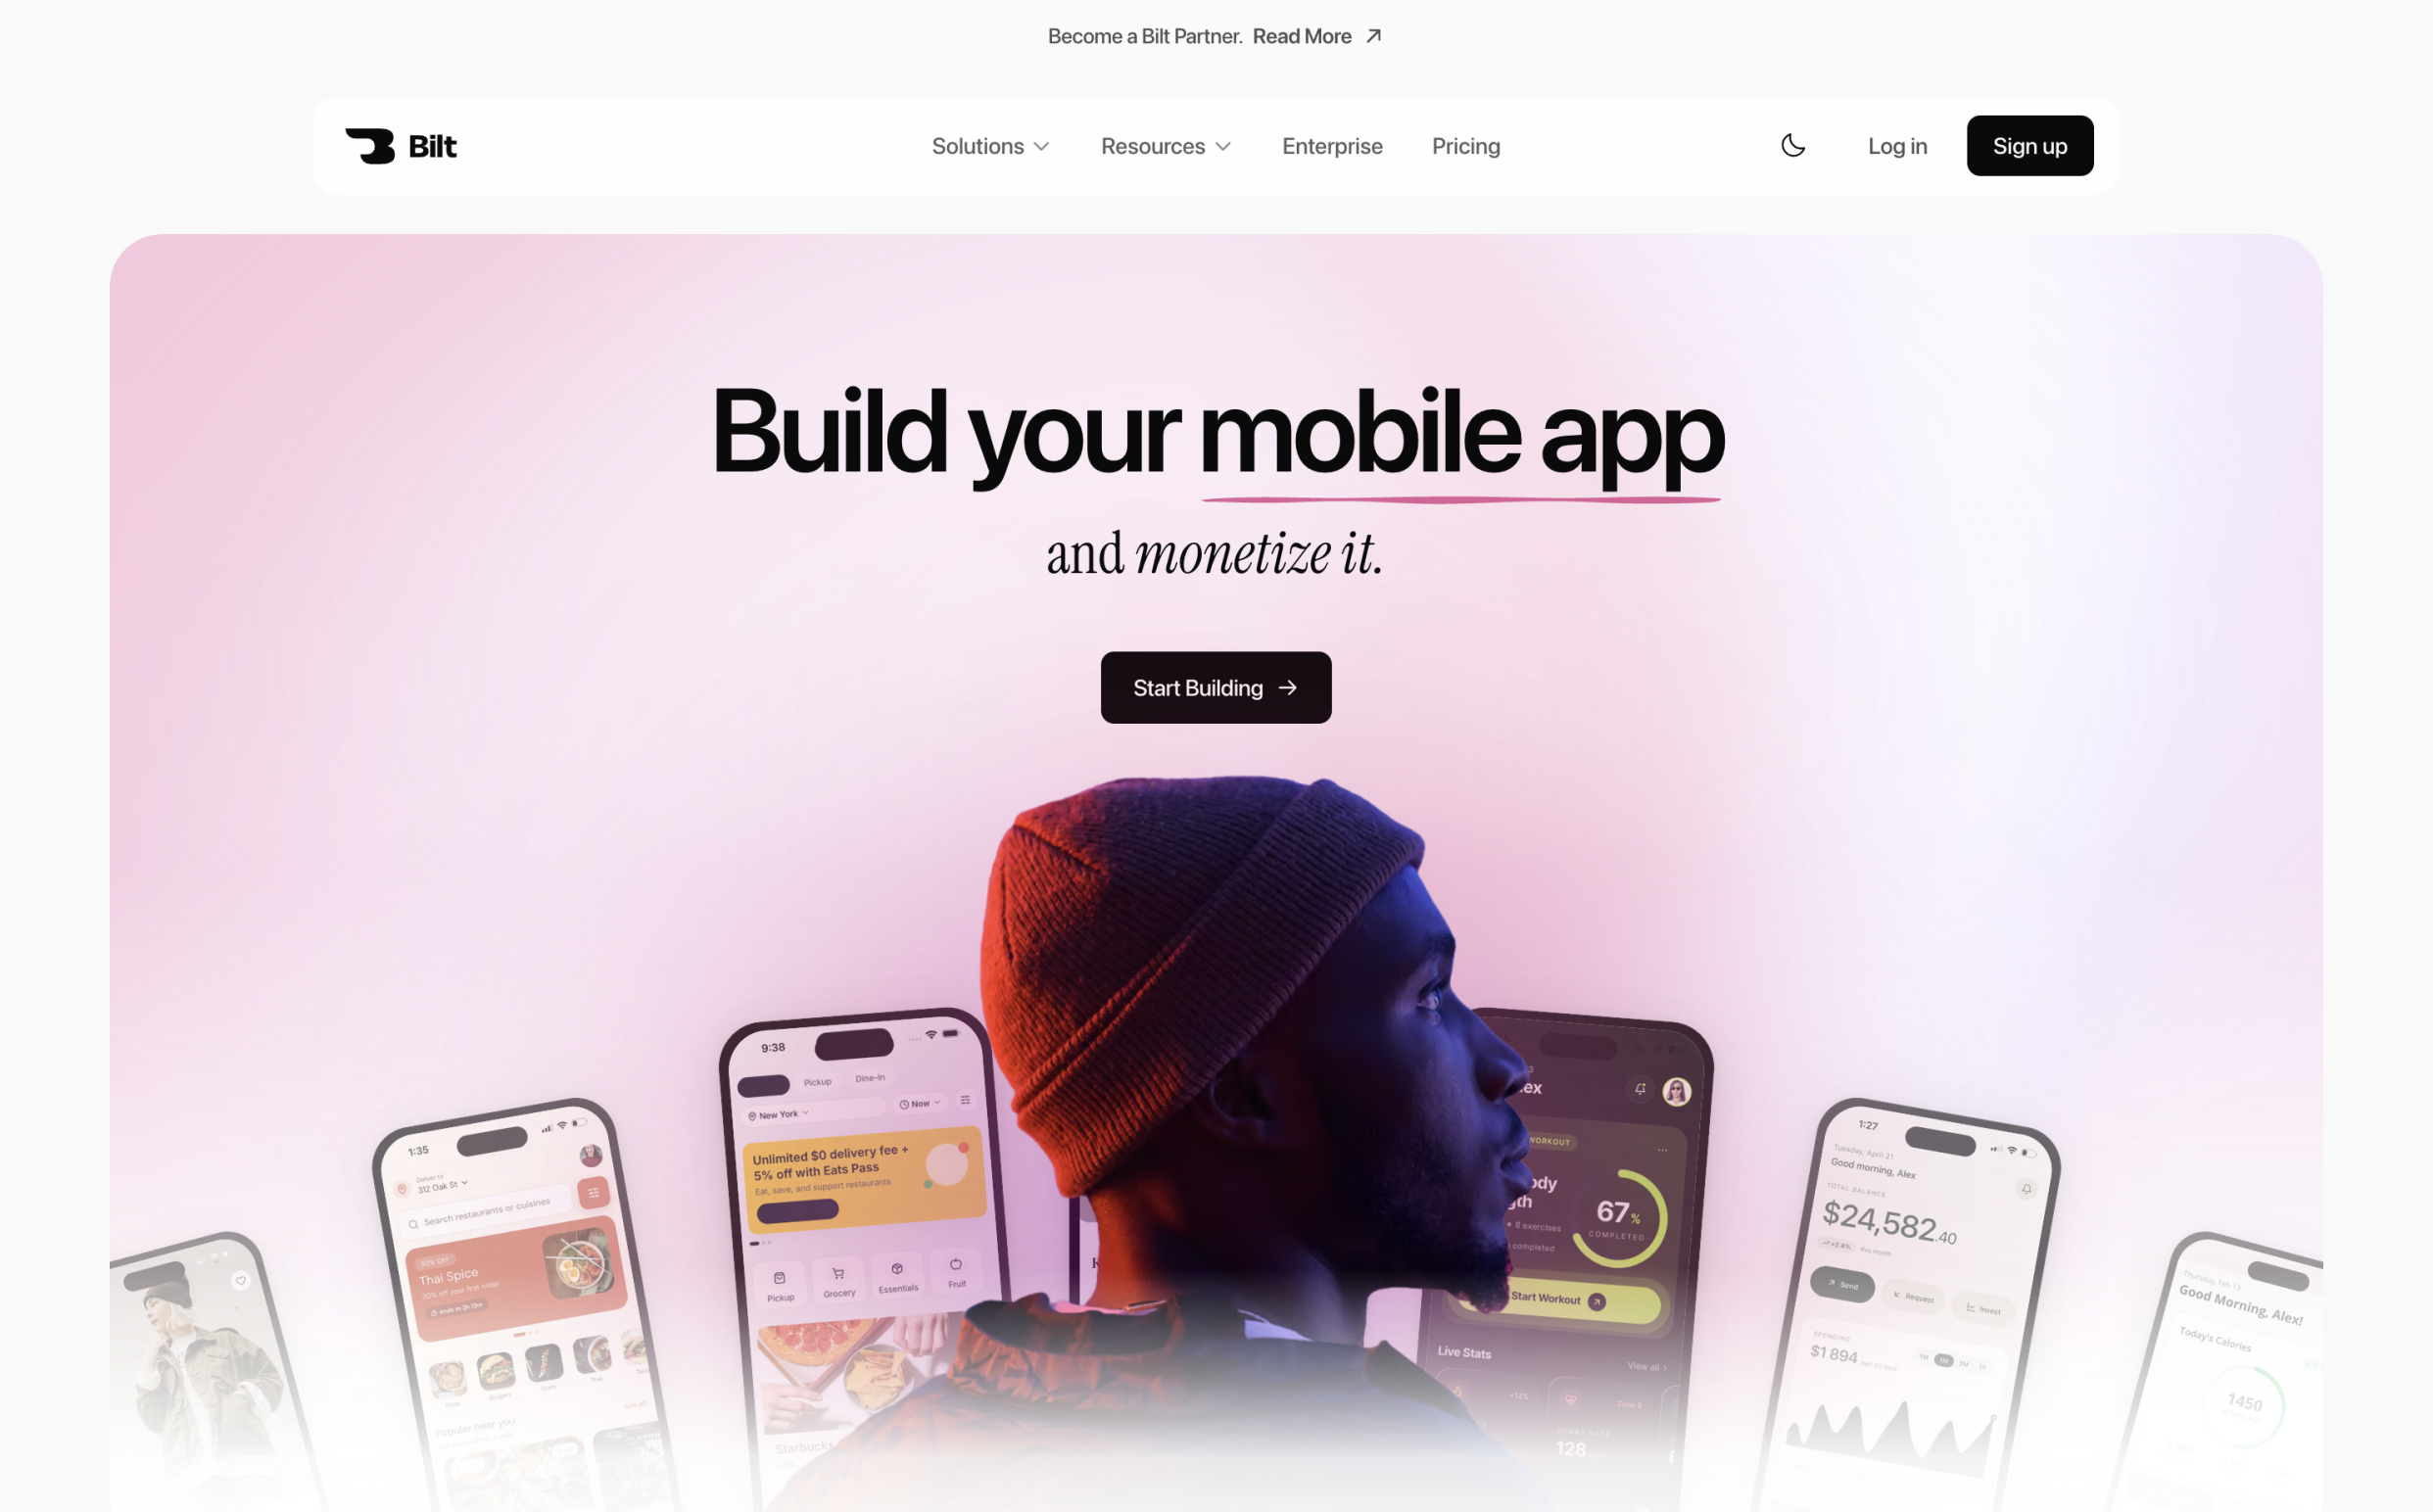
Bilt's flow is straightforward: describe the app, preview the first build, refine it through conversation, test it, and publish when it is ready.
Describe an app in Bilt and watch the native app appear in live preview.
Before generating the build, run the immediate-buyer check. Then give Bilt the details it needs:
- What the app does and who pays for it
- Feature requirements, screen by screen if you have them
- Design preferences: colors, fonts, tone
- Assets: logo, icons, images
Bilt generates a functional native app rather than a static mockup, including the UI, backend, and integrations described in the prompt. Test every important flow before treating the first build as release-ready.
Branch 2: an unfinished or broken app
Start with testing and diagnosis, not new features. Building on top of an app that already breaks only makes the repair bigger.
AI mobile-building tools can generate much of an app quickly, but production work still needs deliberate review and testing.
The usual failure point is a polished frontend that was never fully wired to backend and production logic. The app looks finished and behaves like a demo.
Accepting generated code without a structural review adds two more costs:
- Technical debt that makes every later change harder than the last
- Security and scaling problems that only surface under real usage
Bilt's recovery path starts with the existing app: test the core flows, repair what is broken, then move on to monetization and release.
Branch 3: an existing web app
If the product already works on the web, do not describe it again from scratch.
Bilt can import an existing web codebase and adapt its working product logic into a native build. Web apps built with tools such as Lovable or Replit are supported starting points, though mobile-specific flows still need adaptation and testing.
The native version can add deeper mobile integration, including push notifications, device features, and app-store purchase flows. Some web apps support parts of this, but native delivery makes the mobile experience more consistent.
9. Design the monetized experience
Let users reach the app's core value before asking them to pay. Introduce a subscription, paywall, purchase, or ad at the point where the next benefit is clear.
Sequence the value before the ask
One rule governs this whole step. The user reaches the core value first, then the paywall or upgrade arrives as the next logical step.
In practice that means:
- Hold ad loads until after the aha moment, once the user has seen the app work
- Layer ads and purchase prompts lightly, because apps become unusable when both are stacked heavily
- Build a value ladder that starts with free utility and climbs to premium upgrades
Find the point where a user hits the natural limit of the free experience. That is where your paywall belongs.
How Bilt handles the mechanics
Bilt supports native in-app purchase flows without requiring you to write the store integration from scratch. Configure the products and entitlements for your app, then test them through the appropriate store environment.
Keep the scope clear. Bilt's documented support in this workflow covers subscriptions, paywalls, and native in-app purchases.
Advertising, affiliate placements and commerce checkout need case-specific confirmation from Bilt before you plan a launch around them.
Iterating on the paywall
Paywalls rarely land on the first attempt. Price, wording and the placement of the upgrade screen all change once you watch real users reach them.
In Bilt, those changes happen by prompting. You describe the new copy or a different upgrade trigger, and the live preview reflects UI changes immediately.
10. Configure billing and compliance
Billing setup and compliance are separate jobs. Define the products and prices in the relevant store, then match the purchase flow, disclosures, and consent choices to your app.
Billing setup that has to happen before submission
Create the app and product records in App Store Connect and Google Play Console where applicable. Digital goods normally use store billing; physical goods and external services can follow different payment rules.
Bilt's documented scope covers native in-app billing. Confirm case-specific requirements for physical goods, external services, marketplaces, advertising, affiliate flows, or commerce checkout before launch.
Privacy and compliance before launch
Privacy duties depend on what data you collect, where users live, and how the data is used. GDPR and CCPA requirements are not interchangeable, so treat this as a launch checklist rather than legal advice.
Three things to handle:
- A GDPR lawful basis and consent flow where applicable, plus CCPA notice, opt-out controls, and relevant store disclosures
- App Tracking Transparency when the app performs tracking under Apple's policy definition, not merely because it uses analytics
- Allow time for privacy and legal review in regulated sectors before setting a launch date
Make sure the app's actual data collection matches its privacy policy, store disclosures, consent flow, and account-deletion process.
Before submission, use Apple review failure checks to catch privacy mismatches, broken purchases, and incomplete reviewer access.
11. Test the app and purchases
Test the core flow in a live preview, on real devices, and through the stores' test environments. Purchase behavior needs more than a clickable paywall.
Use four testing surfaces, each for a different job:
- Live preview: check layout, navigation, copy, and ordinary interactions as you refine the app
- Real devices: test permissions, notifications, keyboard behavior, performance, and different screen sizes
- Bilt billing environment: previews and development builds use a mock environment for purchase, restore, and entitlement checks. Real StoreKit purchases need a native development or TestFlight build.
- TestFlight or a Google Play testing track: collect external feedback on the release build before public launch
Run each purchase path in the correct test environment before public release. Include only the paths your app actually offers:
- Trial start, where offered
- Monthly purchase
- Annual purchase, where offered
- Restore purchase
- Cancellation
- Failed payment
Test beyond checkout too:
- Account creation, login, logout, and recovery
- Permissions and notifications
- Offline and poor-connection behavior
- Accessibility and common device sizes
- Every button, screen, and error state
The iOS-specific path from first build to TestFlight is mapped in building an iPhone app.
12. Publish the monetized app
Publishing combines a store-ready build with listing assets, account access, and compliance details. Bilt automates build generation, code signing, and iOS build uploads to App Store Connect while you retain the store accounts and business decisions.
Bilt uploads iOS builds to App Store Connect. You submit the iOS build for Apple review there, while eligible Android releases can go to Google Play's internal testing track.
You still own the product listing, legal disclosures, pricing choices, and responses to store feedback.
The split of responsibility is simple:
- Bilt generates and uploads the iOS build to App Store Connect, including code signing
- Bilt handles build generation and signing after the required account access is connected
- You provide accurate compliance details and respond to any questions or requested changes from the stores
- Bilt can send eligible repeat releases to Google Play's internal testing track automatically; the first release may require a manual upload of Bilt's
.aabin Play Console.
Bilt's instant deployments cut this from several days of configuration to a few minutes.
You still need the developer accounts: the Apple Developer Program is $99 per year, and Google Play Console registration is $25 one time.
You also own the listing copy, screenshots, pricing, support details, privacy disclosures, and other business information. Bilt can guide the setup, but the claims must accurately describe your app.
13. Acquire your first users
For owned and client apps, start with people you can already reach. Use their feedback to sharpen the pitch, then expand into the channels where that audience already spends time.
Start with the names from step 1 and send a direct message: “I built a small app for [problem]. Would you try the beta and tell me where it falls short?”
Send the beta before public launch. Early testers can reveal bugs, confusing copy, and objections that would otherwise weaken the store listing.
If that list has gone cold while you were building, better to find out now than after you have spent money on ads.
Two assets do most of the converting early on:
- A store listing that names the problem. Relevant keywords in the title and description handle discovery. A first line that describes the pain handles the install.
- One simple web page. Explain the problem, link both store buttons, and you have something to paste into a DM or a community thread.
Keep the app narrow while you learn. A focused MVP reaches real users sooner, while extra features increase build, testing, and support work before demand is clear.
Widen your channels once direct outreach stops teaching you anything new. Ten paying users or twenty similar conversations can be a working heuristic, not a universal threshold.
Choose the next channel by audience. Options include ASO, search content, niche communities, referrals, partnerships, or short-form video when the product is visually demonstrable.
Keep one acquisition channel active long enough to judge it, and ship fixes that address repeated feedback. Compare each channel by qualified users, activation, paying conversion, and acquisition cost.
14. Improve revenue and retention
Post-launch growth is a loop: find the weakest revenue or retention signal, diagnose why it moved, ship one change, and measure again.
Track ARPU, retention, churn, and feature usage together. ARPU is total revenue divided by active users for the period; written feedback helps explain why the numbers changed.
Review these metrics together:
- Signup drop: inspect onboarding, account creation, permissions, and the first successful action
- Paywall or plan drop: inspect the offer, price, timing, wording, and the value users saw before the ask
- Later retention drop: inspect recurring value and feature usage. DAU/MAU is a frequency signal, not retention by itself
- Notification opt-outs: inspect frequency, relevance, timing, and whether the message helps users complete a valuable action
Onboarding, notifications, and updates are useful only when they address the diagnosed problem. More messages or releases do not automatically improve retention.
Bring payment, store, behavior, and feedback data into the same review process, even if they live in separate tools. Choose the next update from the combined evidence.
Normally a post-launch change means a spec, then a wireframe, then a ticket. Every one of those steps needs technical knowledge or a developer in the loop.
In Bilt you describe the change instead. New paywall copy, a moved upgrade prompt, an extra onboarding screen: you ask for it in the same conversation, and the live preview renders the result immediately.
The thread keeps its context too, so your tenth change builds on the first nine rather than starting from a fresh brief.
App reselling and white labeling
App reselling and white labeling is selling client apps under your own brand for service revenue instead of earning from end users.
You are selling a build, not a subscription. The client pays you, their users pay them, and your invoice clears either way.
Charge it in two parts:
- A setup fee covering the initial build, branding, and store launch.
- A monthly retainer covering maintenance, updates, and support after launch.
The retainer turns one-off work into recurring revenue, but only with a controlled scope. Define included revisions, monthly support hours, third-party costs, ownership, handoff, and out-of-scope rates in writing.
White labeling means the client or reseller brand appears on the app instead of the platform's. GoodBarber is one reseller-platform example; check its current app limits, branding rules, and fees before comparing it with other routes.
Where the client's needs are similar, you can adapt a reusable base instead of rebuilding from zero. Keep shared flows stable, then change the brand, content, integrations, and agreed custom features.
Two things eat your margin on this route:
- Complex business logic and unsupported third-party services, where no-code platforms hit a ceiling
- Usage-based platform pricing, which climbs as client apps grow while your retainer stays flat
Your 30-day action plan
Use the first 30 days differently for each route. Third-party apps optimize hourly return, owned apps validate and launch, and client work moves from signed scope to paid delivery.
Days 1 to 7: pick your route.
- Consumer route: shortlist apps that already pay, compare payout mechanics, and calculate net earnings before you spend hours on tasks.
- Owned-app route: list the people who could pay you right now and contact them before you build anything.
- Client route: secure a signed scope and deposit before beginning the full build
Days 8 to 21: build or fix.
- Consumer route: use only the highest-potential apps and record actual time, required spend, and net payout
- Owned or client route: build the must-have flows first, then stabilize login, storage, payments, and delivery before adding extras
Days 22 to 30: launch and get first users.
- Owned or client route: test core flows, then use TestFlight or a Google Play testing track before public release or client handoff
- Choose acquisition by audience. Use direct outreach first, then add channels such as ASO, community, search, partnerships, or short-form video when they fit
Frequently asked questions
A 30-day plan only works when the build stays small enough to publish and support.
Judge the month by the route's real outcome: hourly net earnings for third-party apps, a payer commitment and tested release for an owned app, or a signed scope, paid deposit, and working client delivery.
The best route is the one whose tradeoff you accept. Track real net income if you use third-party apps; validate a buyer before building your own; define scope before taking client money.
If you choose the owned-app route, describe the idea in plain English and let Bilt build, refine, and publish the native app. Start building free.
Can you make money with apps without building one?
Yes. You can earn through cashback apps, surveys, gig platforms, marketplaces, creator platforms, and service platforms without owning or building the app.
A separate route is to own the asset without writing code yourself. AI and no-code builders can help you create an app, but monetization features and store requirements vary by platform and use case.
Whether you build or not, the economics still matter. Track net hourly return on third-party platforms, or validate an audience willing to pay before creating your own product.
How much money can an app make?
App revenue varies sharply. It depends on how many active users become repeat payers and what it costs to acquire them.
- Industry totals do not predict a new app's revenue because publishers and apps earn uneven amounts.
- Subscription revenue comes from paying subscribers multiplied by the subscription price, before platform fees and refunds.
As simplified math, a $10 monthly price and 30 to 100 active paying subscribers produces $300 to $1,000 in gross monthly subscription revenue before store fees, refunds, churn, taxes, and operating costs.
How long does it take for an app to become profitable?
Profitability begins when cumulative contribution margin covers launch costs. Contribution margin is revenue left after the variable costs tied to serving and acquiring customers; fixed launch costs are recovered from that remainder.
- Divide launch costs by contribution margin per paying customer to estimate the number of customers needed to break even.
- Lower acquisition cost or longer customer retention reduces the time needed to reach the break-even customer count.
Can you change your monetization model after launch?
Yes, but treat the change as a migration rather than a simple switch. New pricing can affect store rules, existing-user access, entitlements, purchase restoration, and how legacy customers are treated.
- Google Play lets you move a paid app to free, but an existing free app cannot be switched to paid upfront.
- Apple's AppTransaction property migrates legacy paid users into a new subscription without charging them twice.
Keep legacy access working through purchase restoration and server-side validation so the switch does not push out the users you already have.
Do iOS or Android apps make more money?
Neither platform is automatically more profitable. Results depend on country, audience, monetization model, acquisition cost, store fees, retention, and revenue per user.
- For each iOS market: compare net subscription or purchase revenue per acquired user
- For each Android market: compare net ad, purchase, or subscription revenue per acquired user
Compare revenue per user with acquisition cost in each target market before prioritizing either app store.