
Prerequisites
That’s it — no external accounts or setup needed.Step 1: Open Database settings
In your project, go to Settings → Database. You’ll land on the Backend Connection screen. You don’t have to start from settings: when your app needs a backend, Bilt posts a card in chat with an Enable Backend button that does the same thing.Step 2: Enable the Bilt-managed backend
Under Bilt-managed backend, click Enable. Bilt provisions a database and backend for your project — setup takes up to a minute.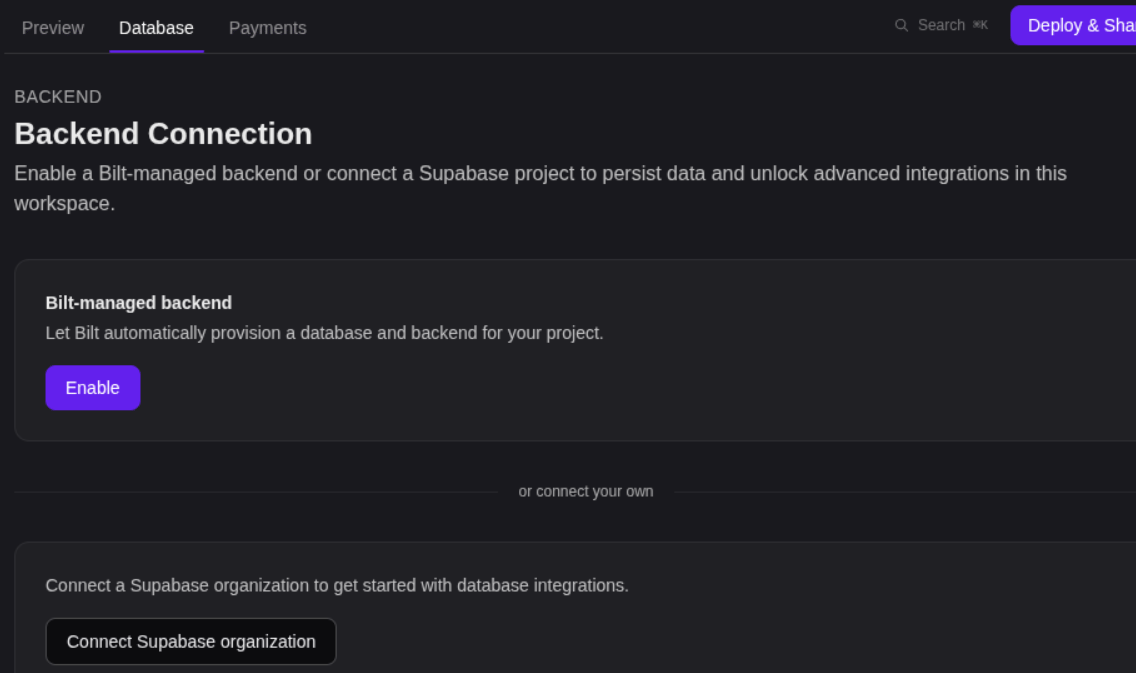
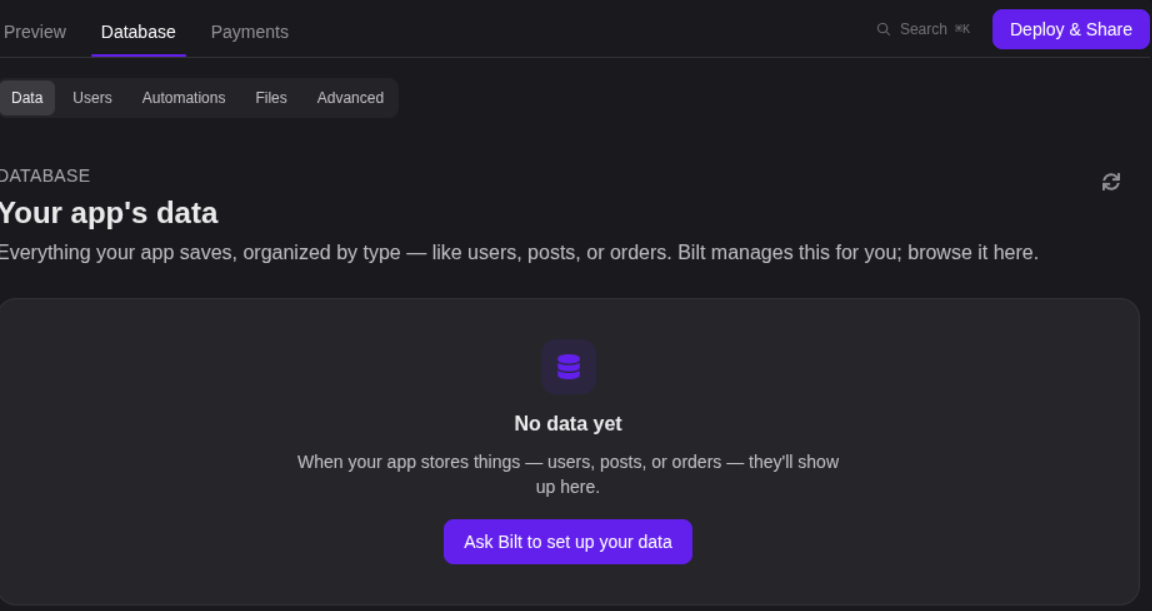
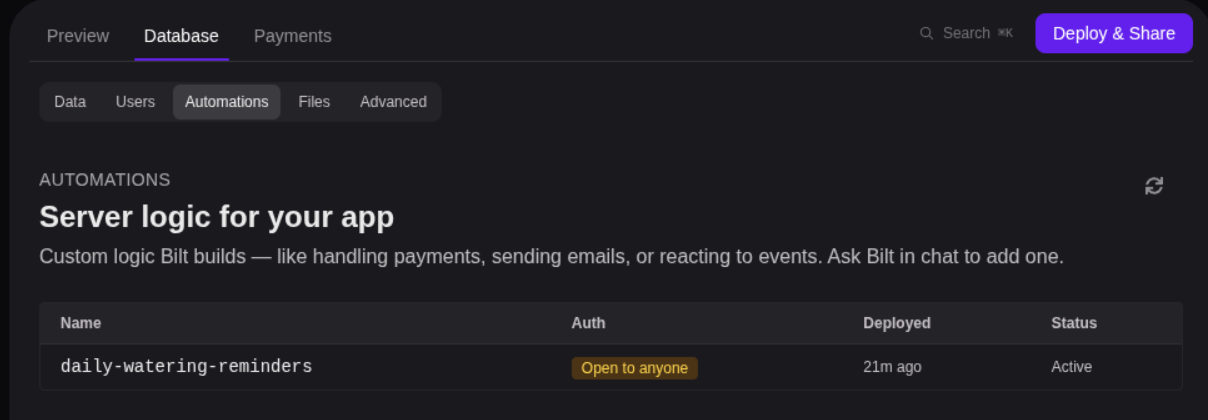
Once connected, the page shows Bilt Backend — Managed by Bilt, and the Data, Users, Automations, Files, and Advanced tabs appear, with status chips for Database, Auth, Functions, and Storage.
Step 3: Build features
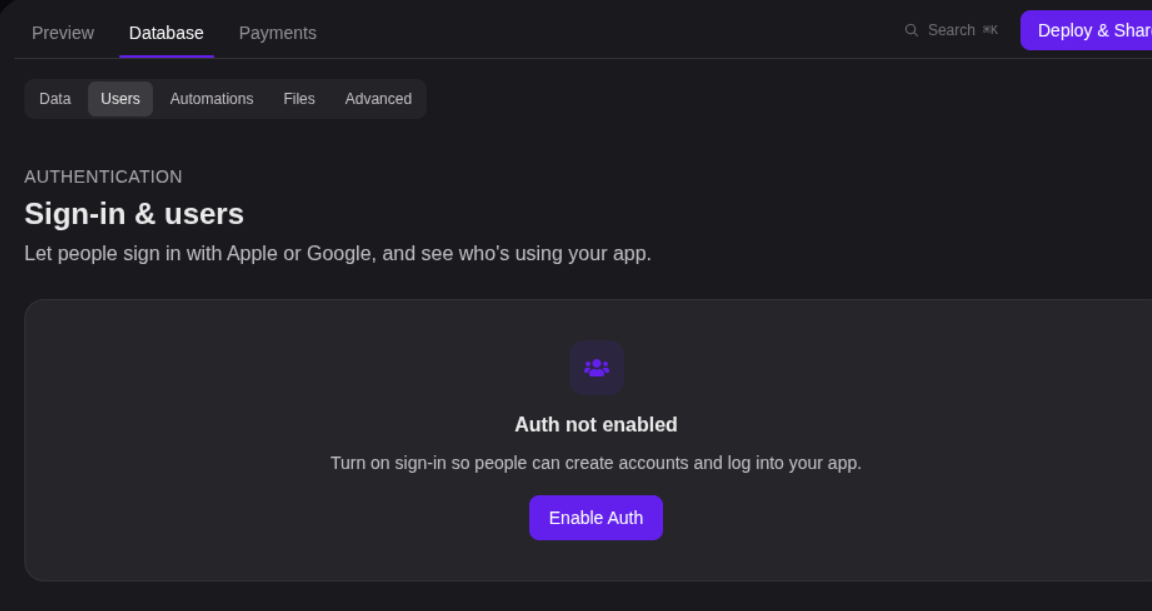
Now tell Bilt what you want. Bilt generates the code that connects your app to its backend.Add authentication
Create and use a database table
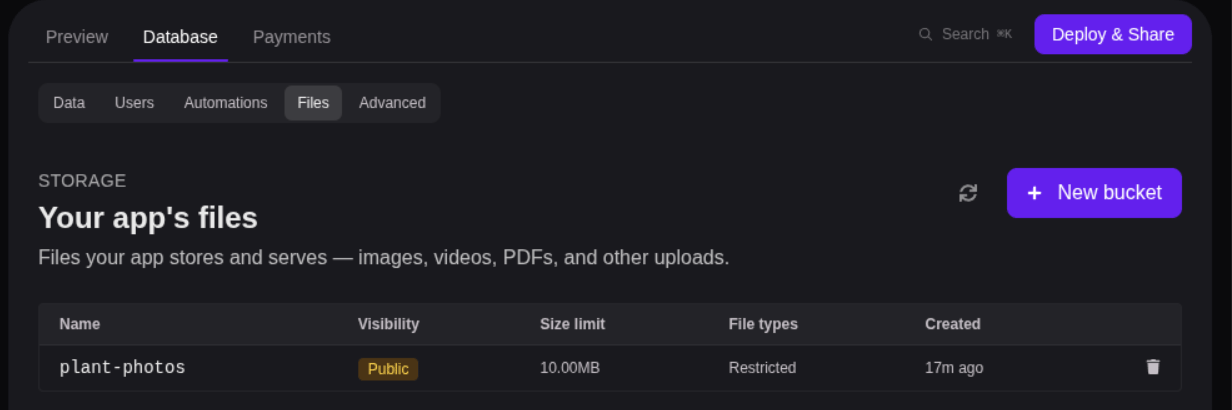
Store files
Add server logic
Step 4: Verify data
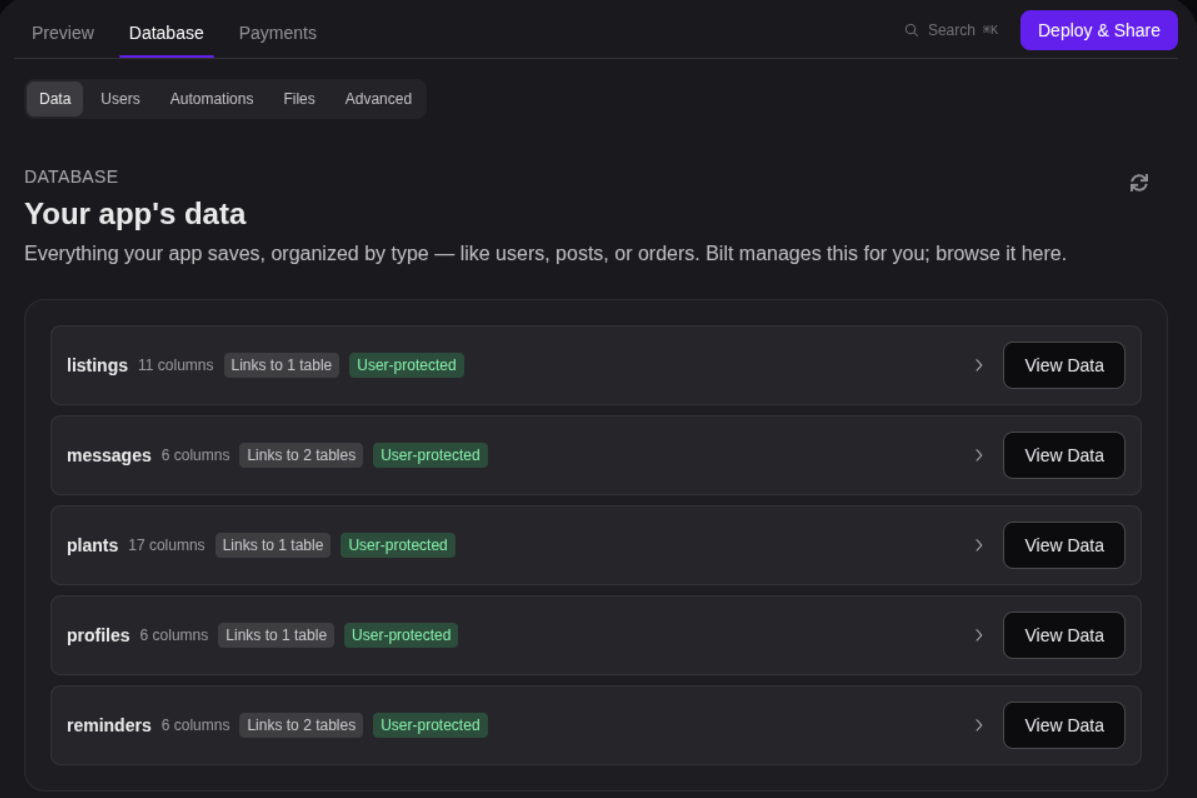
Use the built-in inspector (under Settings → Database) to check that everything works:- Data — browse your tables and click View Data to see the rows in them
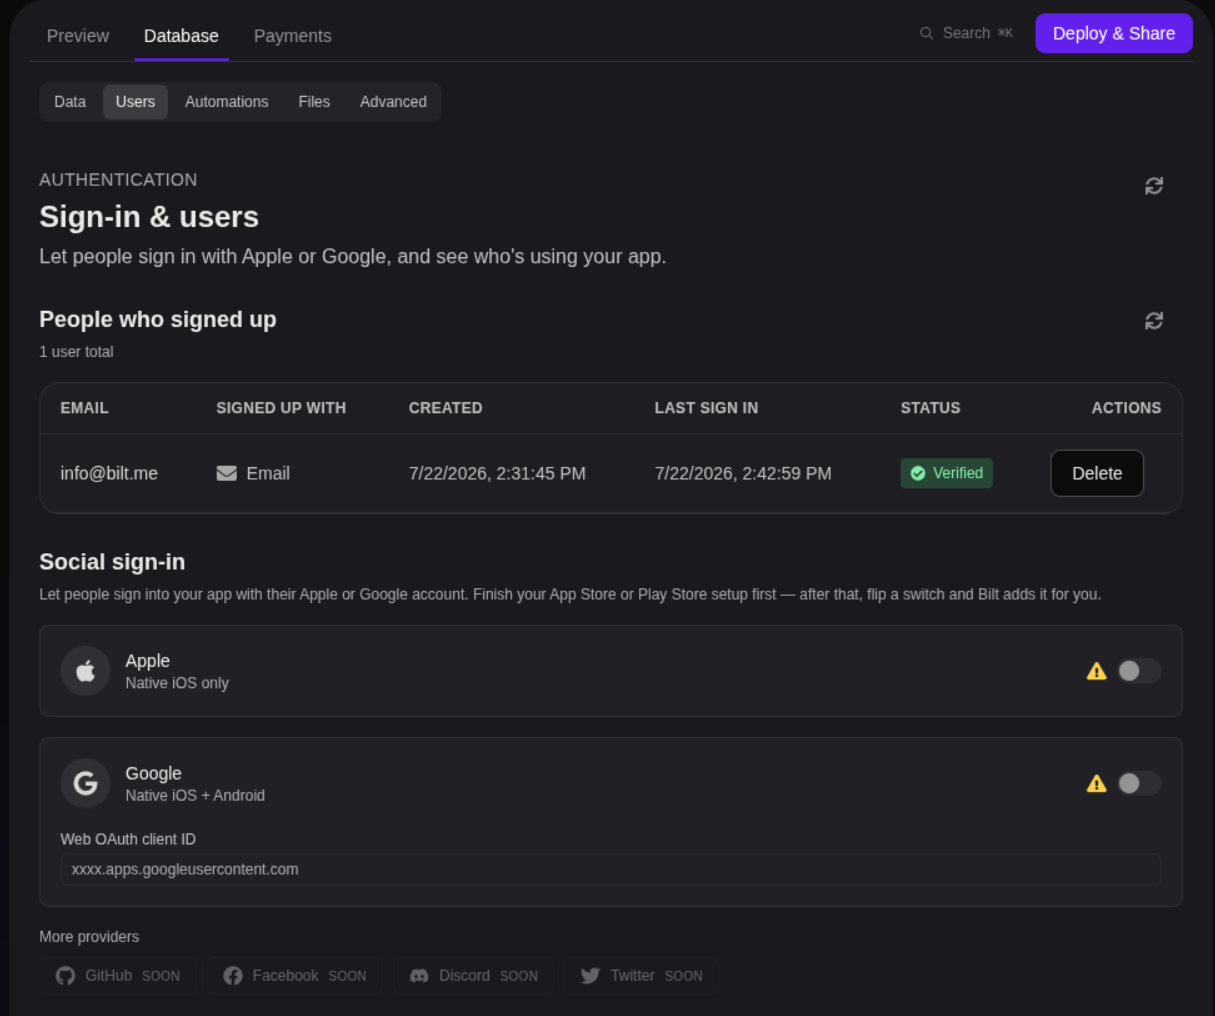
- Users — confirm accounts are created when users sign up
- Advanced — run raw SQL queries when you want to dig deeper
Connect your own Supabase instead
Prefer your own infrastructure? On the Backend Connection screen, click Connect Supabase organization and authorize Bilt with your Supabase account. Then create a new Supabase project or connect an existing one — Bilt builds against it the same way.If your project uses the older Bilt-managed Supabase backend, you’ll see a Migrate to Bilt button that moves your data, users, files, and functions to Bilt Cloud.
Tips
- Real-time sync isn’t included — if any user should instantly see another user’s changes, ask Bilt to refresh data periodically or on navigation instead
- Check the inspector if something isn’t working — confirm the table and data Bilt created actually exist
- Keep secrets on the server — ask Bilt to put API keys and sensitive logic in an automation, not in the app itself
Further reading
- Get & Share Your App — put your backed app in testers’ hands
- Publish to Web as PWA — Bilt Cloud also hosts your app on the web