Prerequisites
- A Bilt project
- A GitHub account
Step 1: Open GitHub settings
Go to your project → Settings → GitHub. You’ll see two tabs: Accounts and Repository.Step 2: Connect a GitHub account
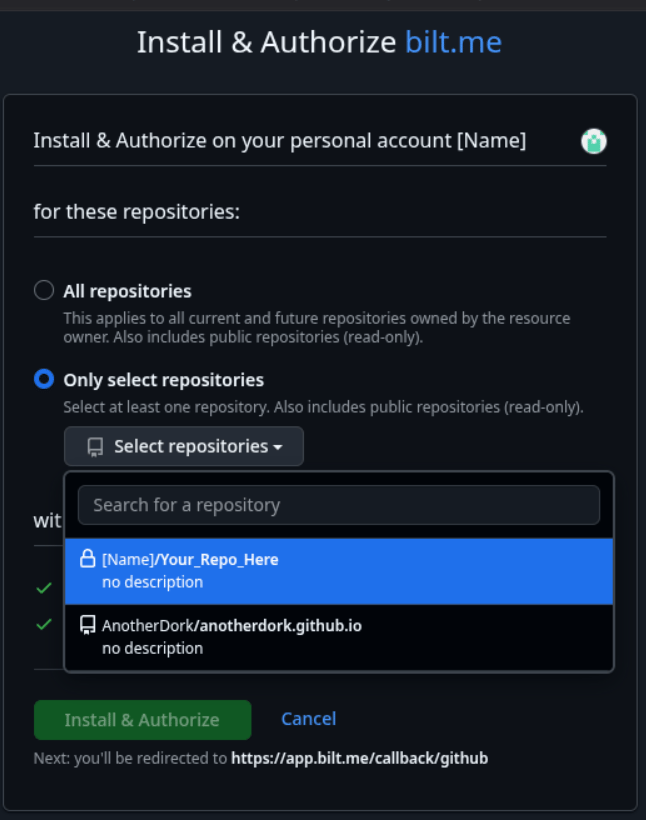
On the Accounts tab, click Connect GitHub account. A popup opens GitHub, where you authorize and install the Bilt GitHub App on your personal account or organization.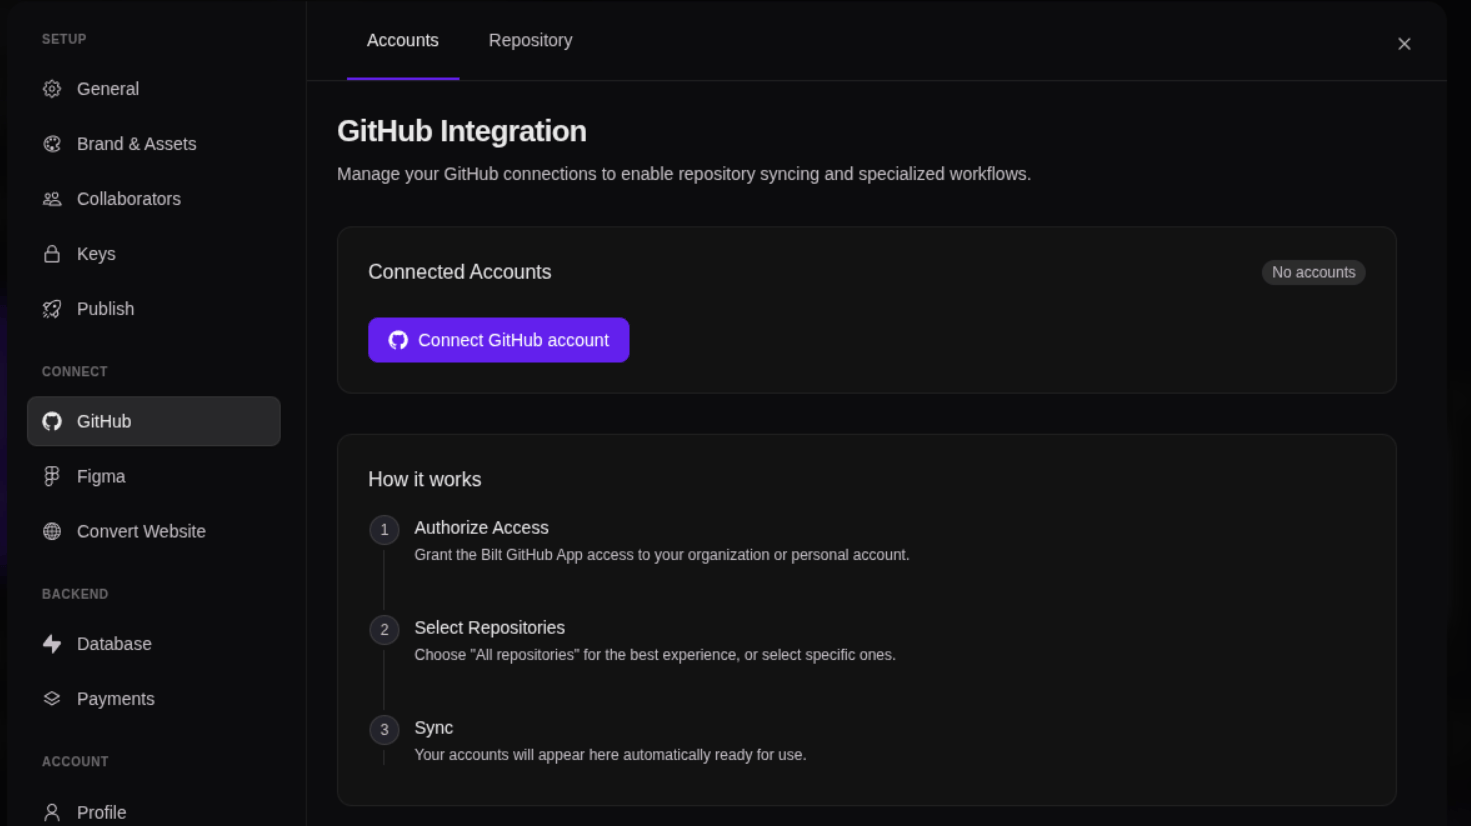
- All repositories — recommended for the smoothest experience
- Selected repositories — limit Bilt to specific repos
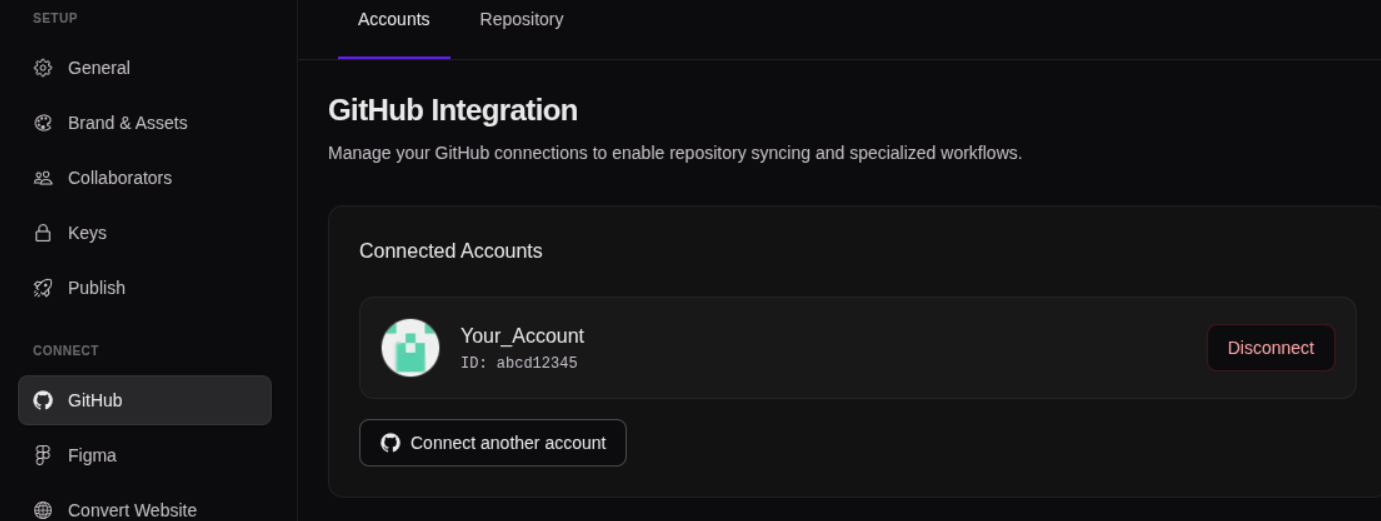
Bilt uses a GitHub App for secure, scoped access. Connected accounts appear on the Accounts tab.
Step 3: Sync your project to a repository
Switch to the Repository tab and click Sync to GitHub. Choose the GitHub account to use, then confirm. Bilt creates a new repository in that account and mirrors your project to it.Once the sync finishes, the repository URL appears on the Repository tab. Open it on GitHub to confirm your code is there.
Step 4: Keep it in sync
After the first sync:- Changes in Bilt and changes on GitHub are kept in sync automatically
- Click Resync to GitHub on the Repository tab any time you want to push the latest changes manually
Working with your code on GitHub
- Clone locally —
git clonethe repo and work in your editor - Create branches — use feature branches for experiments
- Set up CI/CD — add GitHub Actions for testing or deployment
- Add collaborators — invite your team to the repo
Further reading
- GitHub Integration feature — Feature overview
- Code Export — Working with exported code