
Before you start
You need:- A Bilt account
- A Figma account
- Access to the Figma file you want to use
- A Bilt project, unless you want to create a new project from the design
Step 1: Open the Figma setup in Bilt
If you already have a Bilt project:- Open the project
- Open Settings
- Choose Figma
- Click Get plugin + API key
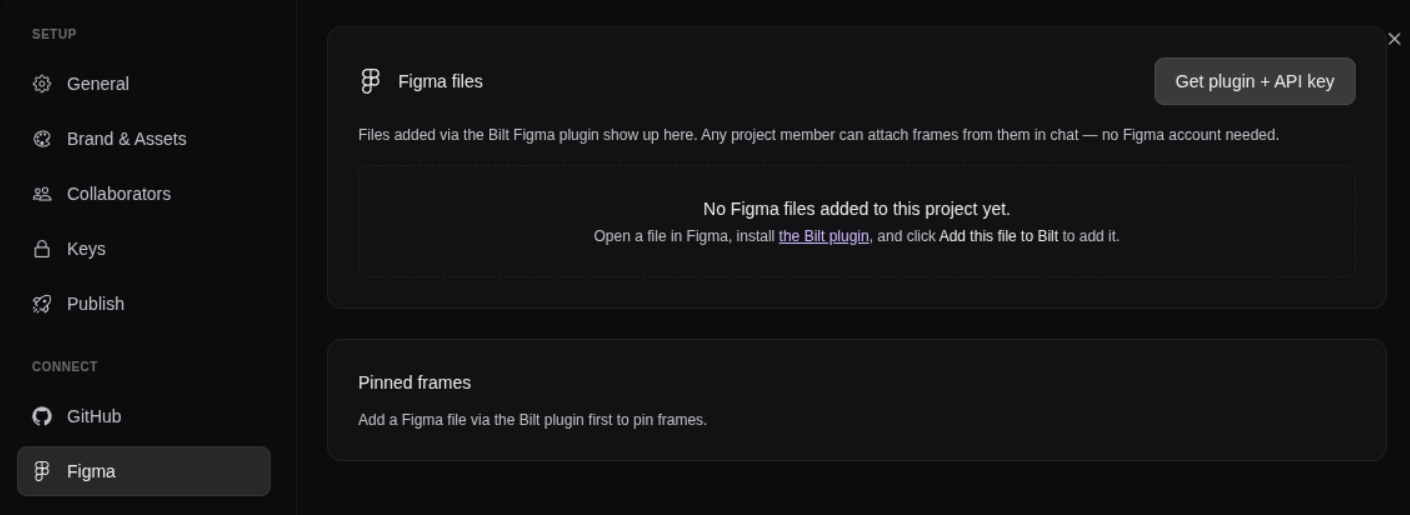
Step 2: Install the Bilt Figma plugin
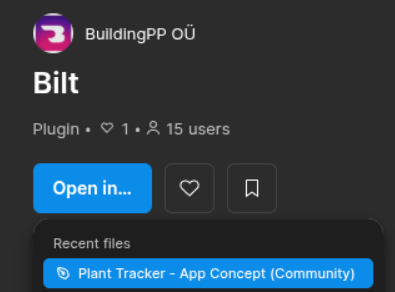
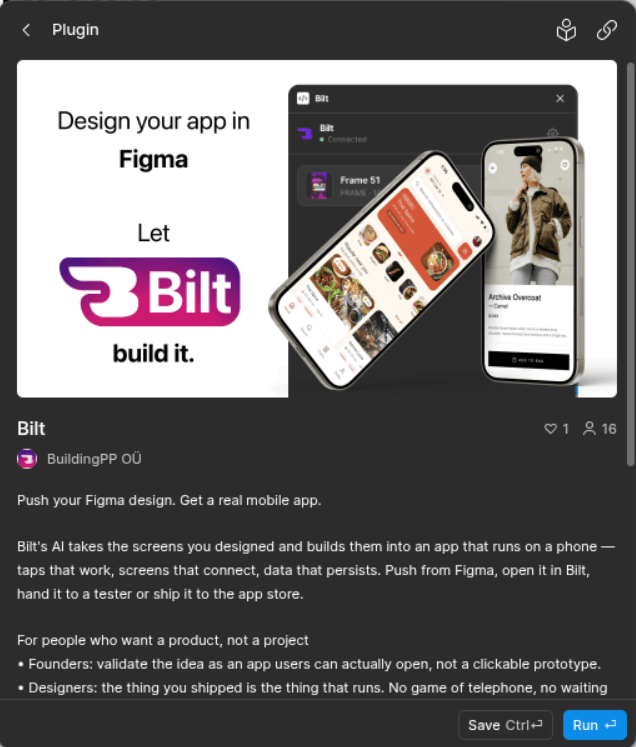
- Open the Bilt plugin in the Figma Community
- Click the button Figma shows to open or install the plugin
- Open the design file you want to use
- Start the Bilt plugin inside that file
Step 3: Create a Bilt API key
The plugin uses a personal Bilt API key to identify your Bilt account. It does not receive your Figma password.1
Create the key
In Bilt → Settings → API Keys, click Create API Key.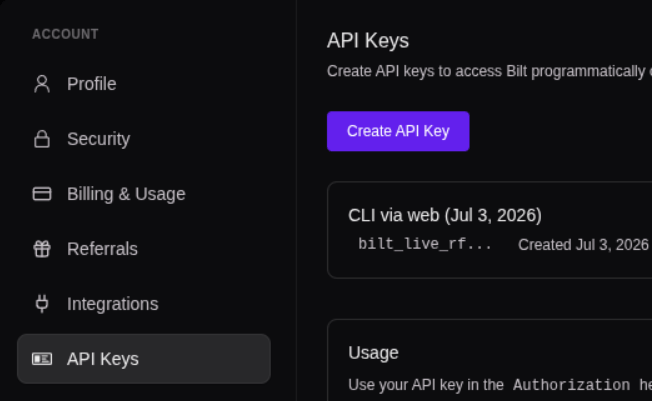
2
Name the key
Enter a clear name such as
Figma plugin, then click Create.3
Copy it immediately
Click Copy. Bilt only shows the complete key once.
4
Add it to the plugin
Return to Figma and paste the key when the Bilt plugin asks for it.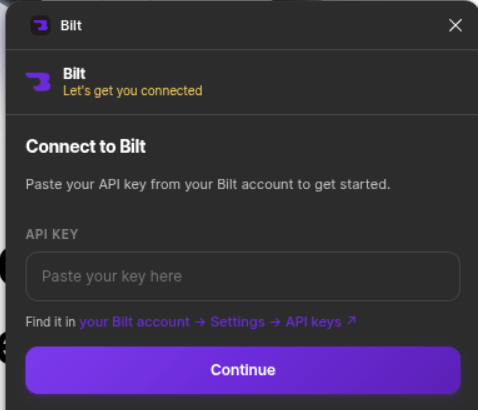
Step 4: Add the Figma file to Bilt
- Keep the design file open in Figma
- Open the Bilt plugin
- Click Add this file to Bilt
- Wait for the plugin to finish
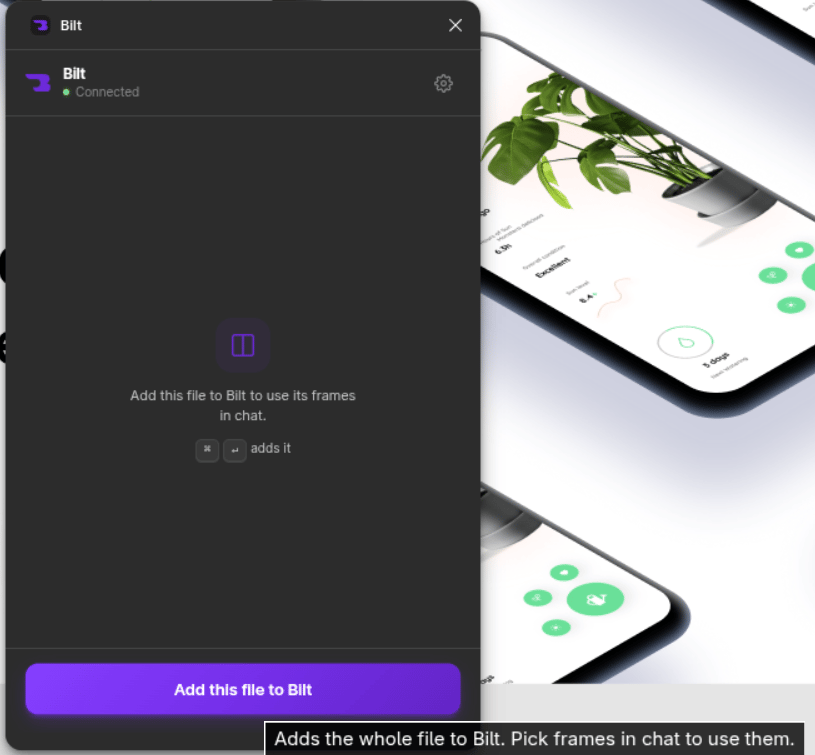
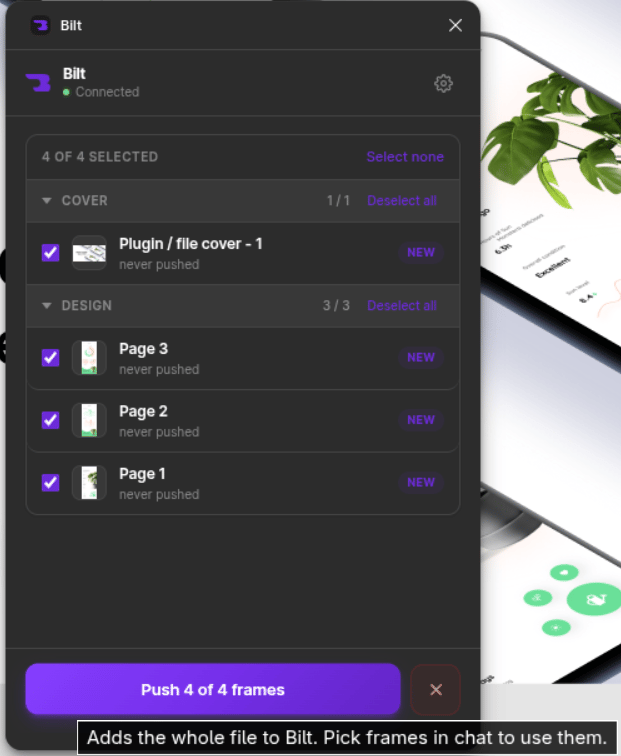
The file now appears under My files in the Bilt Figma frame picker.
Step 5: Connect the file to a project
Use the file in an existing project
- Open the Bilt project
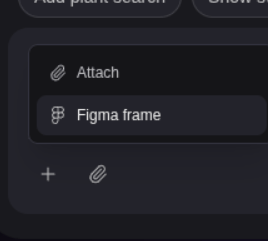
- Click the + button beside the chat box
- Choose Figma frame
- Open My files
- Find the file
- Click Add to this project
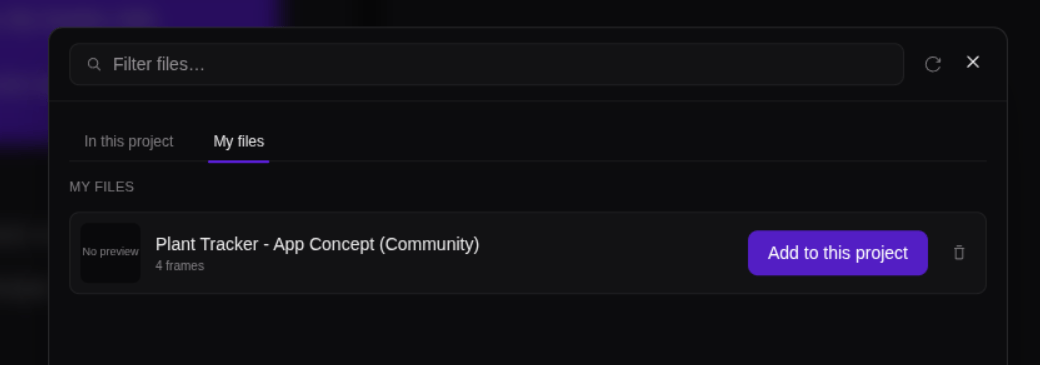
Create a new project from the file
- Go to the Bilt dashboard
- Click the + button beside the prompt box
- Choose Figma frame
- Open My files
- Select the file and the frames you need
- Type what you want Bilt to build
- Send the message
Step 6: Attach frames in chat
- Click + beside the chat box
- Choose Figma frame
- Open a file
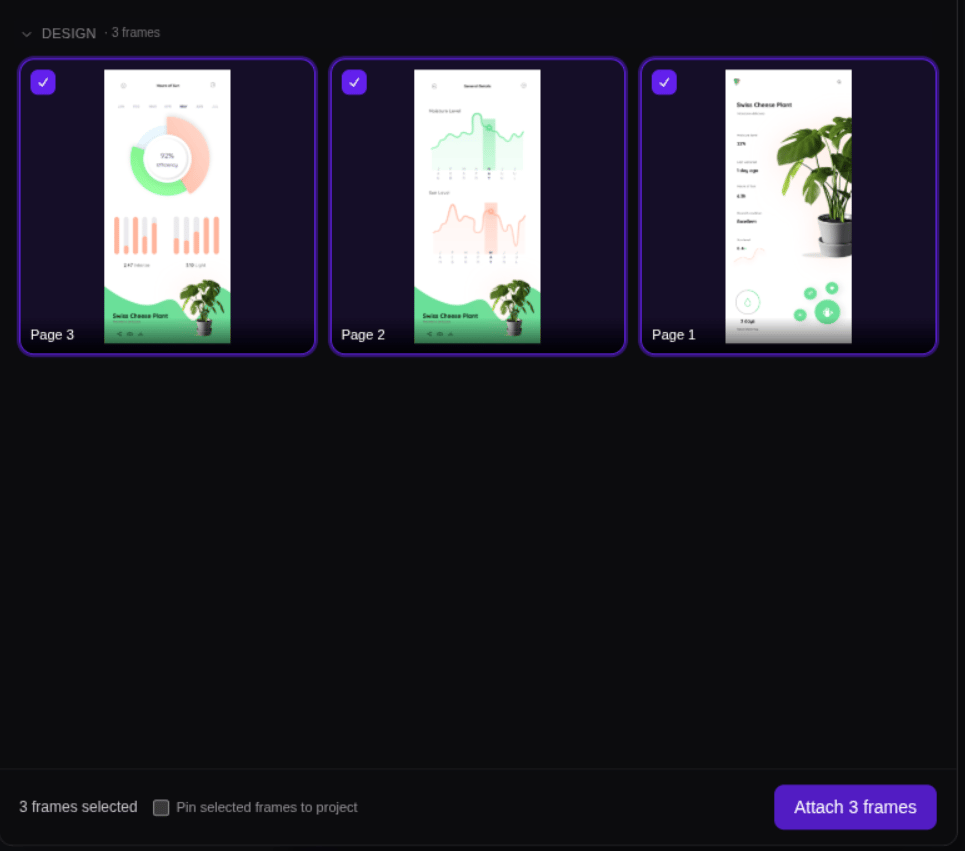
- Expand the correct Figma page
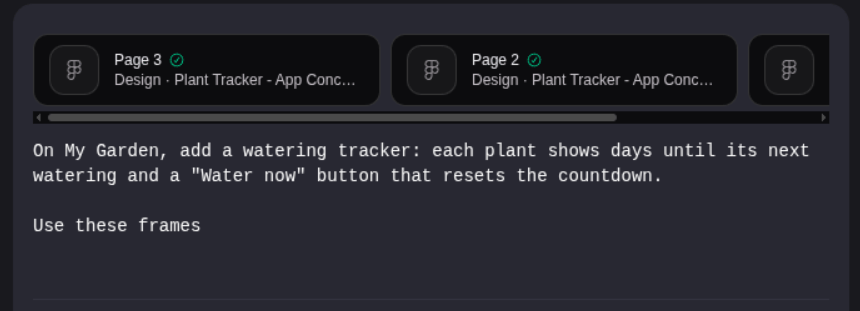
- Click one or more frames
- Click Attach frames
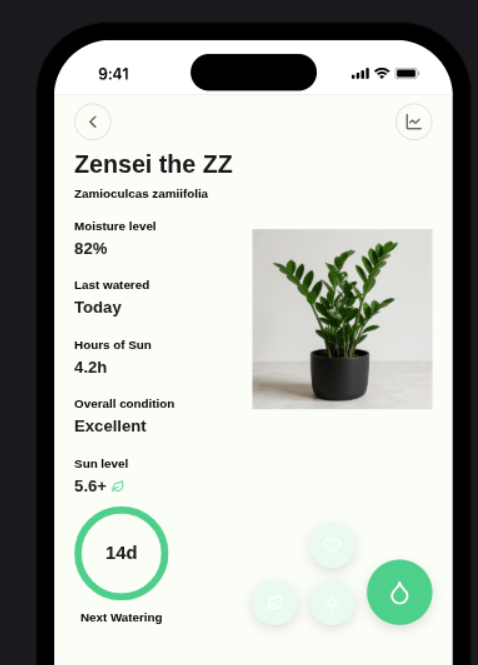
- Describe what Bilt should build or change
- Send the message
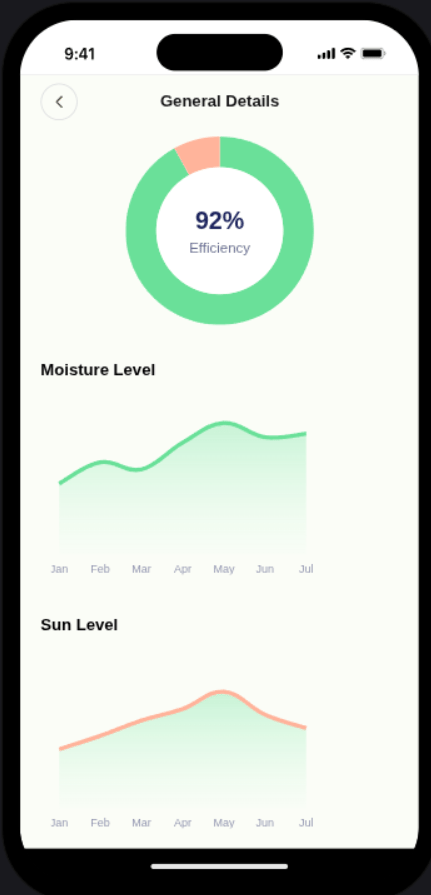
Pin frames you use often
When selecting several frames, enable Pin selected frames to project before attaching them. You can also manage pins in Settings → Figma → Pinned frames:- Click + Pin frame
- Select the frames
- Click Pin to project
Refresh a file after the design changes
- Open the updated file in Figma
- Run the Bilt plugin
- Click Add this file to Bilt again
- Return to Bilt
- Refresh or reopen the Figma picker
- Attach the updated frame in your next message
Remove a Figma file
Open Settings → Figma.- Remove from this project disconnects the file from the current project and removes its pins. It stays under My files.
- Removing it from My files removes it from your Bilt account and unlinks it from your projects. If nobody else added the same file, its stored design data is also deleted.
Troubleshooting
The plugin says the API key is invalid
The plugin says the API key is invalid
Make sure you copied the complete key beginning with
bilt_live_. Bilt cannot show an old key again. Revoke the old key, create a new one, and paste the new value into the plugin.The file does not appear in My files
The file does not appear in My files
Open the file in Figma and click Add this file to Bilt again. In Bilt, open the picker, switch to My files, and click refresh. Check that the plugin uses a key from the same Bilt account.
Bilt cannot read a Figma link
Bilt cannot read a Figma link
A normal
figma.com URL is not enough. Add the file through the Bilt plugin, then attach the frame using + → Figma frame.A frame is missing or out of date
A frame is missing or out of date
Open the file in Figma and click Add this file to Bilt again. Then refresh the picker or pin. You can still send the message, but Bilt receives less reliable design context until the file is refreshed.
Further reading
- Figma Integration feature — What the connection provides
- Prompting guide — How to describe the app and request changes